Application Building and Publishing
In this section, it will be shown how to set up a project in order that the mat|r application can be published in the supported platform stores: Google Play and App Store.
Contents
- Introduction
- Creation of a Sample Application
- Project Setup
- Android Application Building and Publishing
- iOS Application Building and Publishing
Introduction
In order to describe the process to obtain the application project, it will be shown how to create a sample app, to generate a new version of it and, then, to download the project for each platform. Besides, the steps for running the app in a device will be explained, as well as how to publish it in the digital stores, Google Play and App Store.
Creation of a Sample Application
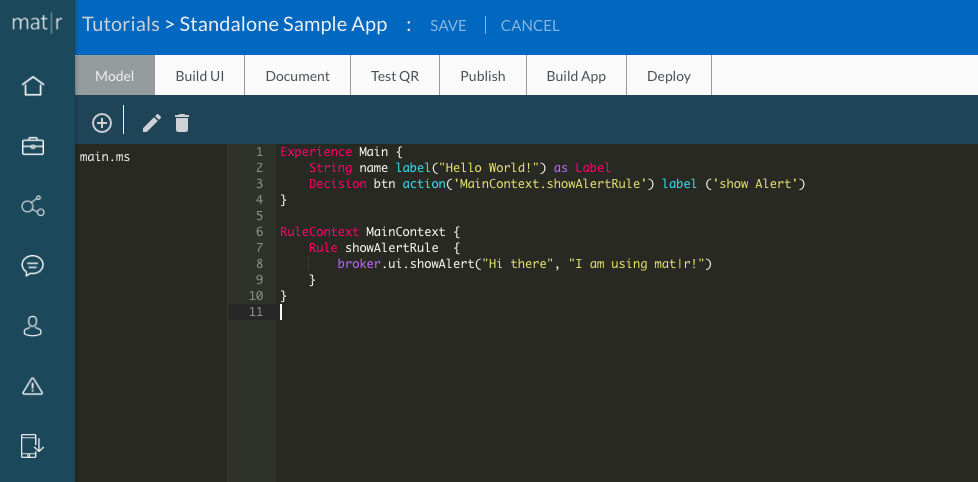
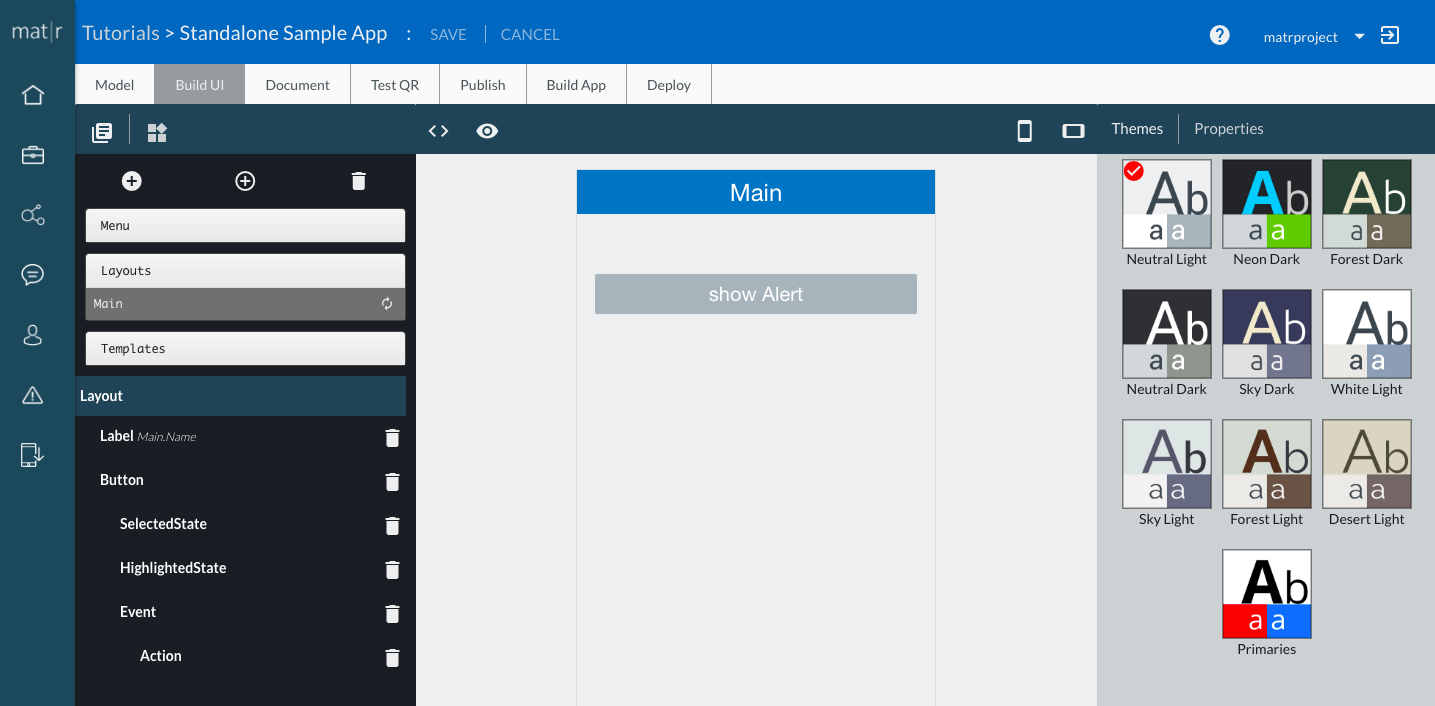
In the mat|r platform, create a sample application and copy the following code snippet. It consists in a button associated to a rule that shows an alert.
Experience Main {
    String name label("Hello World!") as Label
    Decision btn action('MainContext.showAlertRule') label ('show Alert')
}

RuleContext MainContext {
    Rule showAlertRule  {
        broker.ui.showAlert("Hi there", "I am using mat|r!")
    }
}
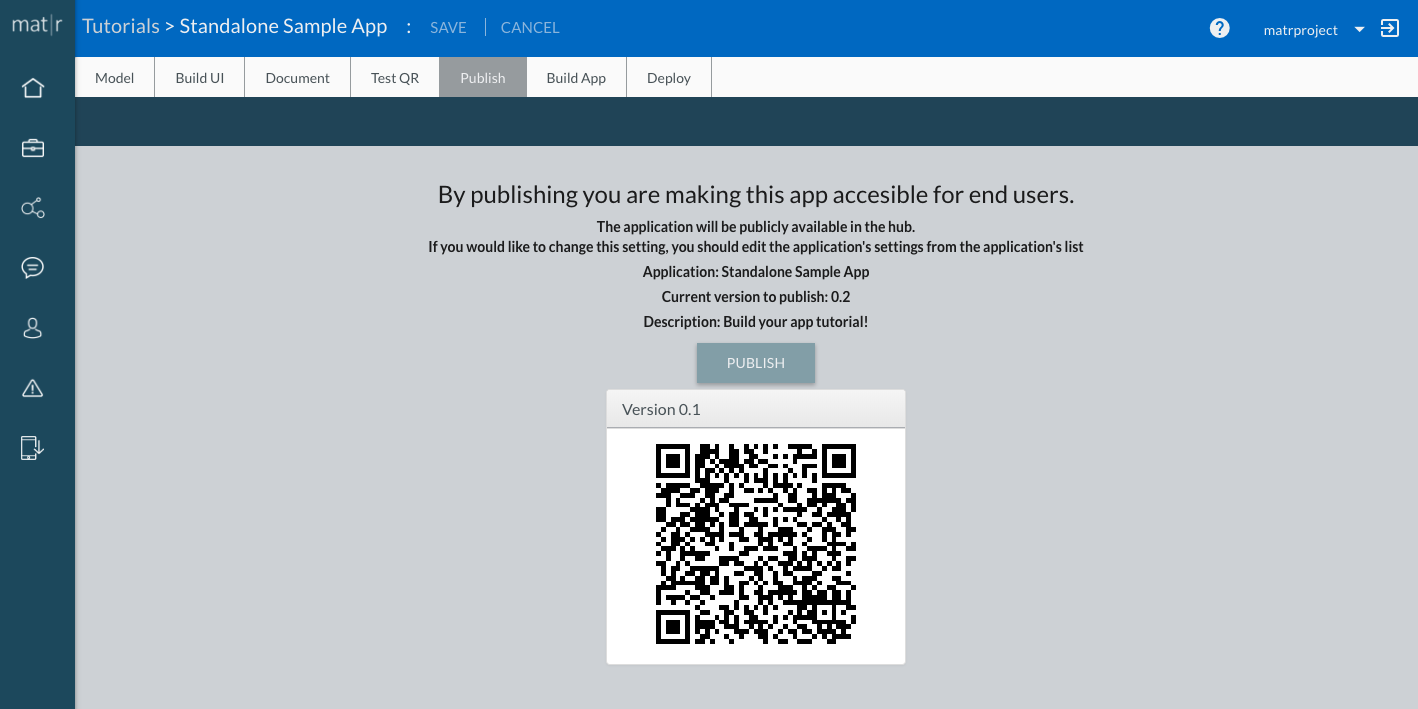
Next, save changes by clicking the SAVE button and, subsequently, publish the app in order to create a new version. To do so, head to the Deploy section and click on PUBLISH.
To bear in mind: every time a change, either visual or logical, is made in the app, this process must be repeated to see the last modifications in the app. In fact, the application checks with mat|r platform if the last published version is running. For this reason, business logic, interfaces or anything needed can be updated without having to publish the app in the stores again.
Project configuration
Once the first version of the app is published, the properties of the downloadable project to build an app can be configured from the Build App section.
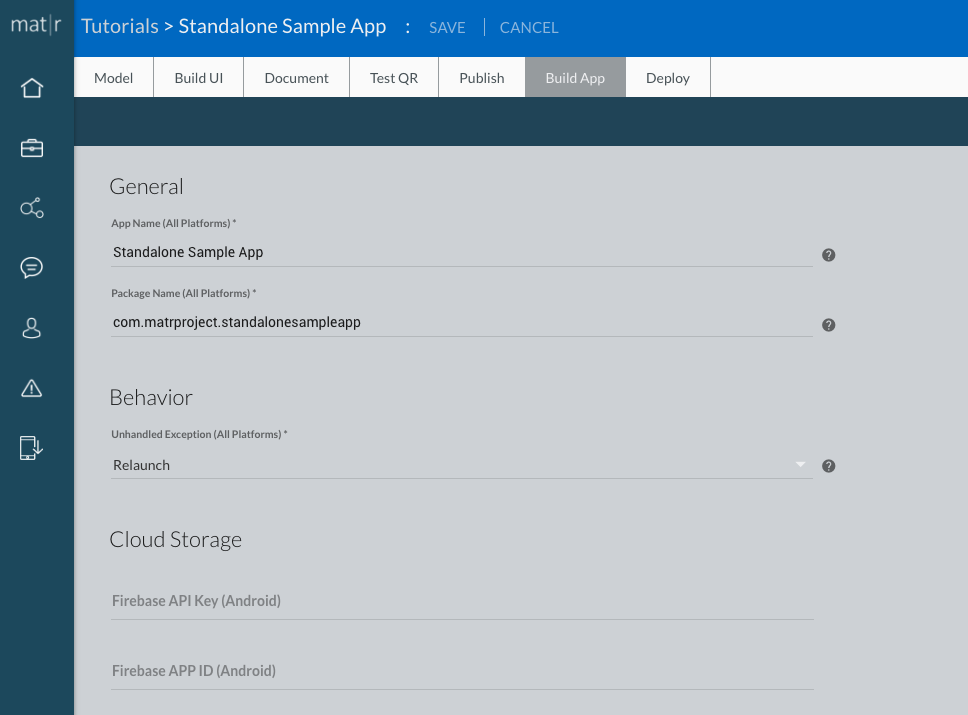
There are 3 main sections: General, Behavior and Cloud Storage. These will be explained below:
- General: even though preset values can be found, these can be modified:
- App Name: it refers to the name of the application and it is the one that will be shown when installing it on a device (by default, it completes with the same name of its mat|r app.).
- Package Name: this field is used to generate a unique application identifier.
- In Android, it refers to the name of the package application and it will be used to identify the app in a unique way in Google Play Store.
- In iOS, it refers to the name of bundle identifiers and it will be used to identify the app in a unique way in App Store.
- Behavior: It sets up the behavior when code exceptions have not been caught in the Try/Catch statements. There are three options:
- Relaunch: a detail of the exception is displayed through an alert and, when accepting the dialogue box, the application is relaunched.
- Abort: the application is aborted, i.e., it closes immediately.
- Interrupt Processing: the exception is displayed through an alert and, when accepting the dialogue box, the app is NOT relaunched, but the running processing unit is simply interrupted.
- Cloud Storage: in this section, the keys are set up for using the cloud storage function, which is provided by cloudPersistence broker service. To do this, first, create an account and, then, follow the steps of this tutorial.
Once the fields of the app have been configured, remember to save the changes (‘SAVE CHANGES’ button).
All set! Now, the Android Studio and Xcode projects can be downloaded to build the app, display it in devices and publish it in the digital stores. The following tutorials explain everything needed for these tasks: