iOS Application Building and Publishing
In this section, it will be shown how to generate an Xcode to build the app, display it in devices and publish it in the App Store.
Contents
Requirements
In order to build the mat|r app in iOS, the following aspects are required:
- macOS High Sierra (10.13).
- The latest Xcode version, which can be downloaded from the iOS Development Center (login in required) or from Mac App Store.
In order to submit the app, run it in a device and publish it in the App Store, it is required:
- An account in the Apple Developer Program.
- Making sure that the app fulfills all the Apple review guidelines.
Membership options can be checked in this guide. There is an option of a free account that allows testing the app on a device, but NOT publishing it in the App Store.
Downloading and Running the App
Downloading the Project
Once the app is configured and it has at least one published version as shown in the initial tutorial, head to the Build App section and download the iOS project by clicking on DOWNLOAD IOS PROJECT. These steps can be followed in the video below:
Opening the Project
In the Downloads folder, there will appear a file called standalonesampleapp-ios.zip, which must be unzipped and, then, opened with Xcode by simply double-clicking on the file named MatrTemplate.xcodeproj. This process is shown below:
Running the App in a Simulator
Finally, press the run option in the simulator and the mat|r app will start running.
Running the App in a Device
In order to run the app in a device, a provisioning profile must be created to sign the app’s code. All devices used in the development must be registered and added to the provisioning profile. The good news is that it will be shown how to use the automatic code signing (mode recommended by Apple), so Xcode generates these files automatically.
Either an active subscription to the Apple developers program or a free provisioning profile is required. For the latter, just an active Apple ID is needed (create one here).
- From Xcode, access the menu Xcode > Preferences > Accounts.
- Once in Accounts, click on + to add your existing Apple ID. It should look as the following screenshot:
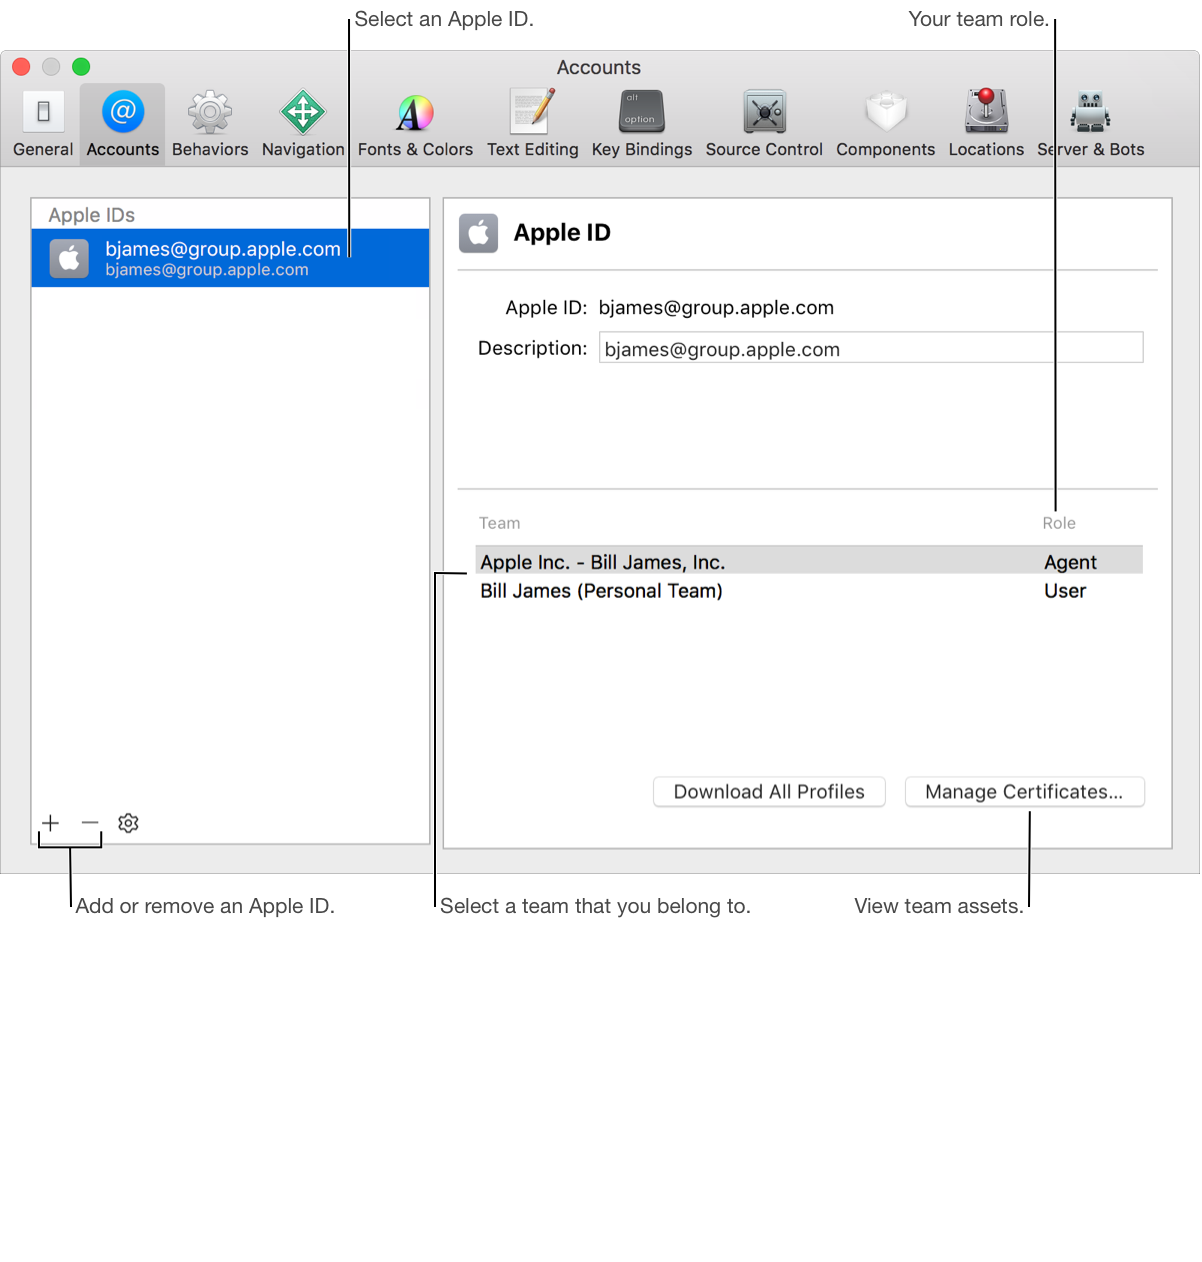
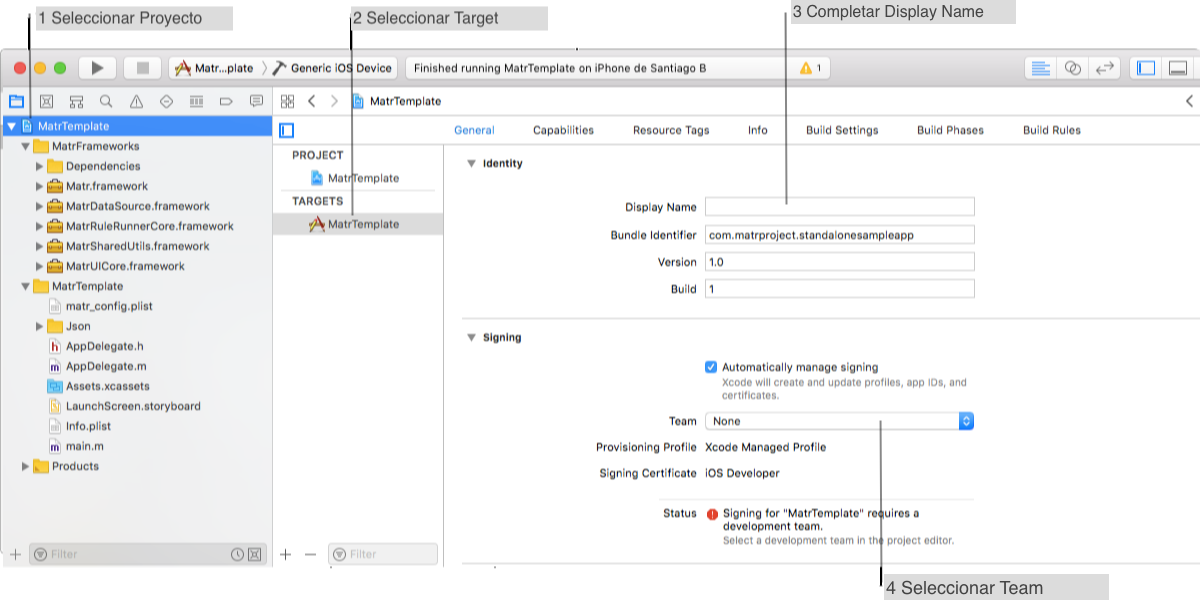
- Set up the Display Name and Team in the project, as shown in the picture below:
Note: in case the free provisioning option is used, Xcode autogenerates a personal team.
- When connecting the device, it can be selected and Xcode will manage to create all the provisioning certificates needed.
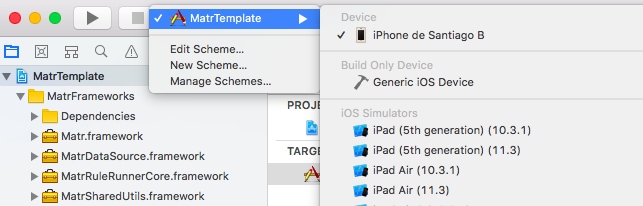
- After a few seconds, click on the Run button and the app will start running in the device.
For more details about the provisioning mechanism, enter here.
Setting Up Icons
Once the app has been run in the simulator or the device, a white icon with the mat|r logo will appear: replace it with your own logo.
To set up the app icons:
- Check the Apple icons style guide.
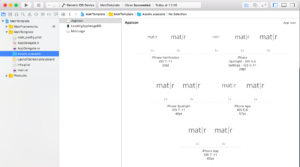
- From the project, access the folder Assets.xcassets > AppIcon and fill in the different resolutions. Images in png format can be dragged and dropped.
Publishing the App in App Store
In order to upload your app to the App Store, the application must be registered at the App Store Connect, which is the place where the life cycle of the app in the store can be managed. There, the application name and description can be configured, as well as adding screenshots, fixing prices and setting launch dates.
Two steps are involved when registering the app: to register the package name or ‘Bundle ID’ and to create an application registration at App Store Connect.
- To register the package name, ‘Bundle ID’:
Each iOS application is associated to a package ID, a unique application identifier registered at Apple.
In order to register the application’s Bundle ID, follow the steps:
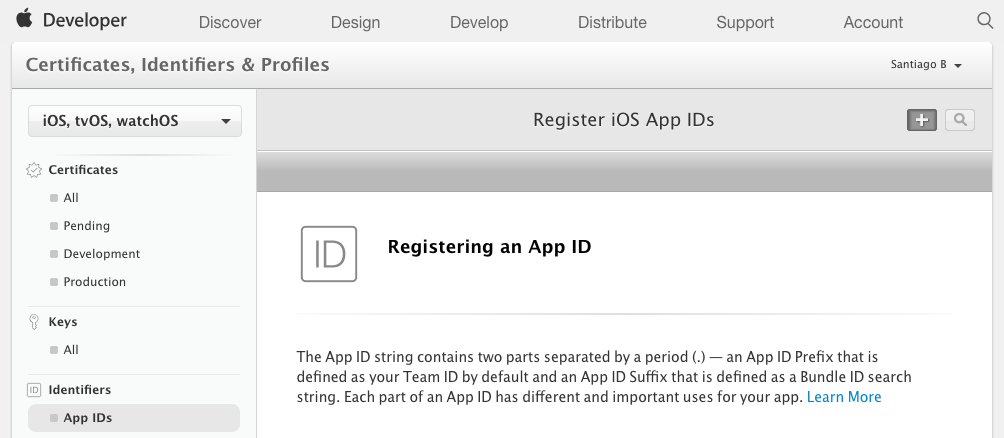
- Access the registration webpage App IDs from your developer’s account.
- Click on + to create a new Bundle ID.
- Fill in the name of the application. Then, select Explicit App ID and enter the Bundle ID.
- Do not edit the App Services section, unless sure of the modifications. Click on Continue.
- In the next page, confirm details and click on Register to register your Bundle ID.
Important note: make sure that the Bundle ID entered in step 3 coincides with the bundle identifier configured in the Xcode project.
- Create an application registration at App Store Connect.
Once the Bundle ID is registered, follow these steps:
- Access the webpage App Store Connect
- Select My Apps.
- Click on + and, then, select New App.
- Fill in the form with the app information. The previously created Bundle ID must be deployed and selected. Make sure that the box that reads iOS is checked. Finally, click on Create.
For a more detailed guide, check this section on the official Apple documentation.
Generating a binary file and uploading it to the App Store with Xcode
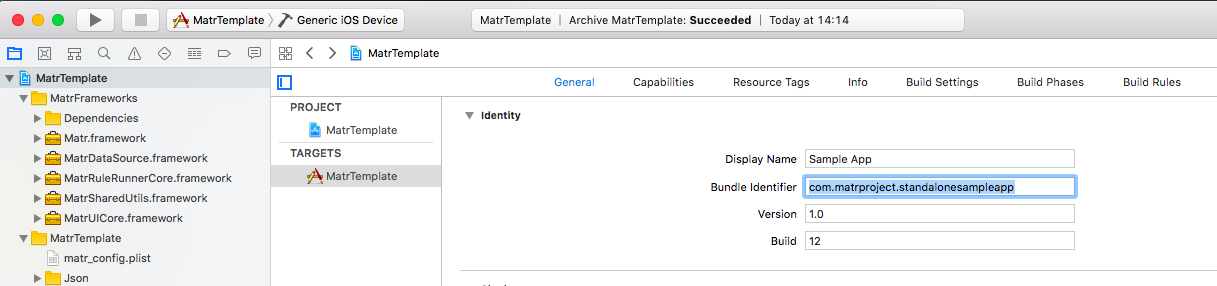
The only thing left is to generate a compilation file and upload it to the App Store Connect. To do so, go back to the Xcode project and check the configurations of the fields previously mentioned. In summary:
- Adding the necessary icons.
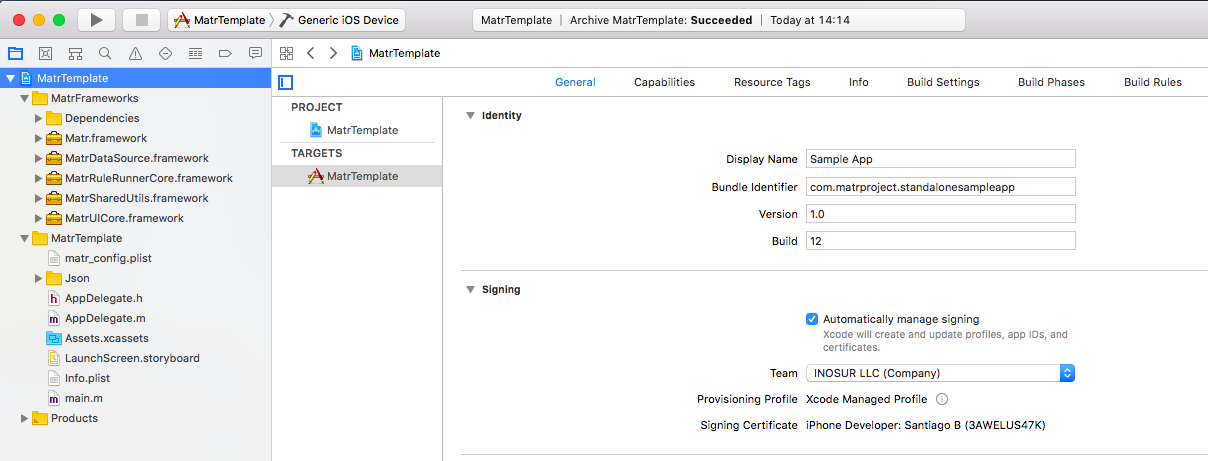
- Filling in Display Name and Bundle Identifier in the Identity section.
- Selecting the Team and the Automatically manage signing checkbox in the Signing section.
Finally, the next steps can be taken:
- Select Product > Archive to generate the file compilation.
- When finished, the Xcode Organizerwindow will open and the recently generated file will be visualized with the options to validate and upload.
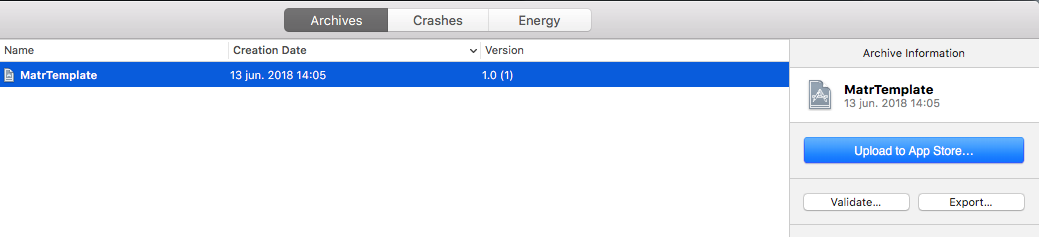
- First, it is recommended to validate the file by clicking on Validate. In this way, Xcode will inform you about any configuration problem.
- After the file has been successfully validated, it can be uploaded to App Store Connect by clicking on Upload to App Store. Then, click on Next (keeping the option Automatically manage signing) and, finally, on Upload.
- Within approximately 30 minutes, an Apple email notifying that the file is ready and can be released will be received.
Submitting the binary file for review and releasing it in App Store
Everything is almost ready for the binary file to be available worldwide. Just follow the next steps:
- Access again the App Store Connect webpage in the app’s details.
- Make sure all the required information is completed, such as the Pricing and Availability section.
- Select the file uploaded in the previous step in a subsection called ‘Build’.
- Finally, click on Submit for Review.
Apple will notify you when the application review process is complete. Its publication in the App Store will be completed on the date specified on the Version Release section.
For more details about the publication process, visit the official Apple documentation: Upload an app to App Store Connect.